
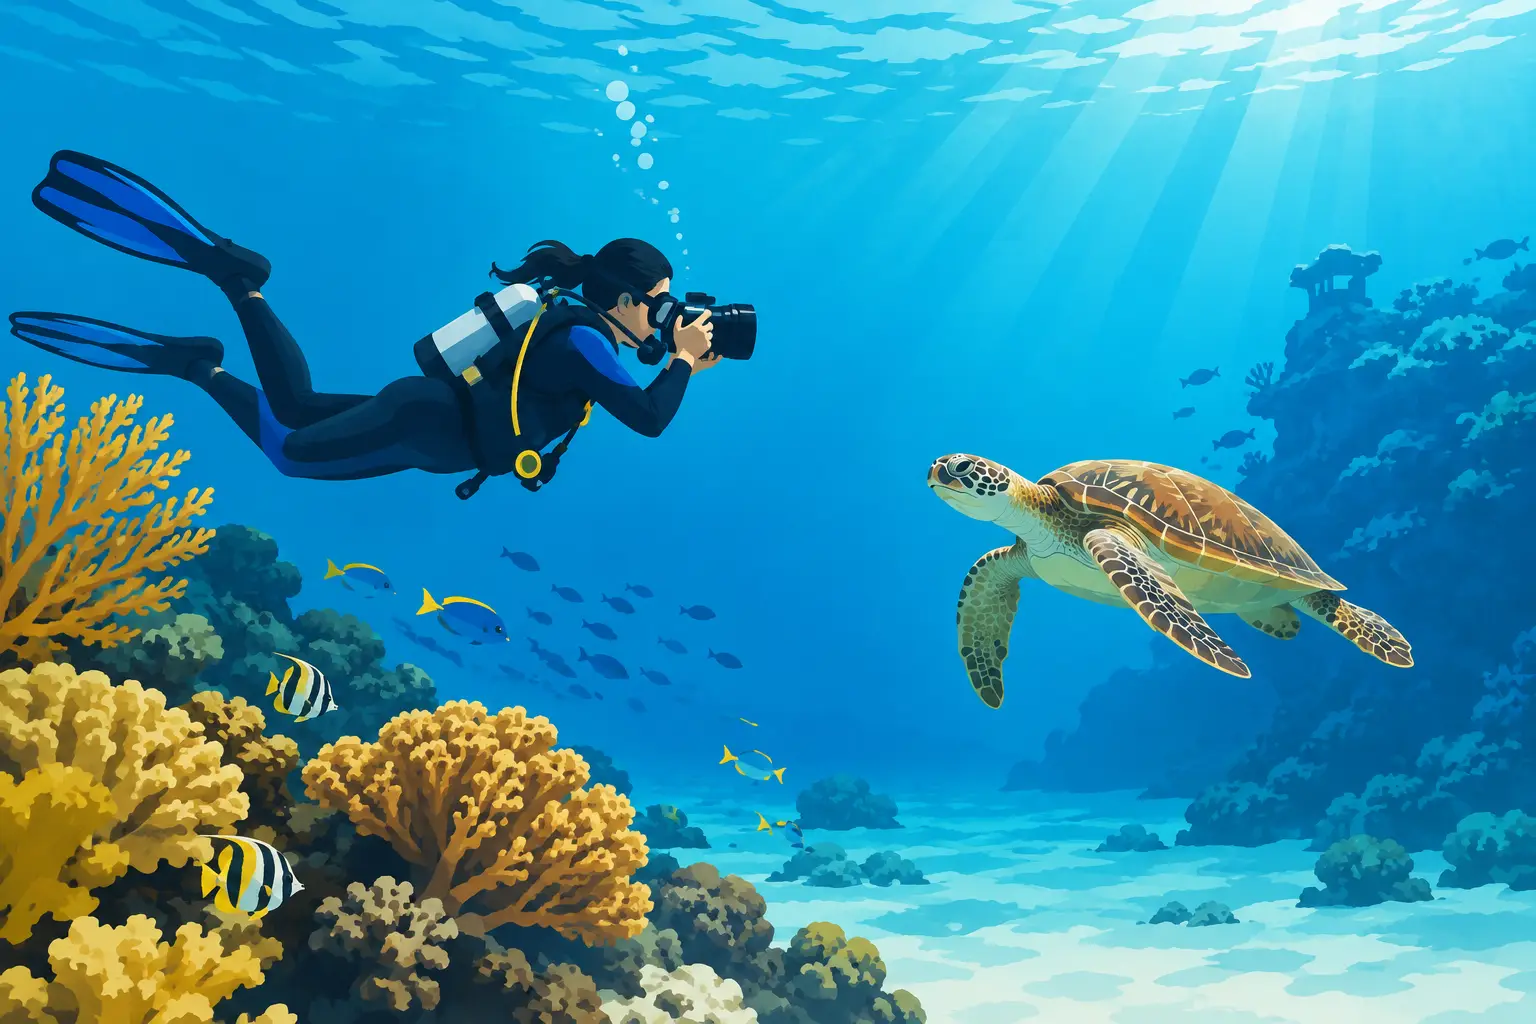

A sea turtle gliding over a Barbados reef can turn a quiet snorkel into the photograph everyone asks about. The challenge is that the water changes the scene in an instant: colors soften, particles catch the light, and a beautiful subject can be gone before a camera focuses. The best underwater photography techniques are less about expensive gear than calm preparation, smart positioning, and giving the ocean the respect it deserves.
For vacation photographers, the goal is not to return with hundreds of complicated files. It is to come home with a handful of vivid images that bring back the feeling of warm water, bright reefs, and the thrill of seeing marine life in its own world.
Underwater Photography Techniques Start Before You Swim
Great photos begin on the boat or beach, not after you put on your mask. Check that your camera housing is sealed, clean the lens port with a microfiber cloth, and test every button before entering the water. A single grain of sand or loose hair on an O-ring can allow water inside a housing, so slow down for this step. It is far easier to prevent a leak than to rescue a camera afterward.
If you are using a phone housing or compact underwater camera, keep the setup simple. Select the highest available image quality and, if your camera allows it, shoot in RAW or RAW plus JPEG. RAW files offer more room to adjust blue tones and shadows later, while JPEGs are convenient for sharing the same day.
A wide-angle setting is usually the better choice for reefs, wrecks, turtles, and photos that include a swimming companion. It lets you stay close to the subject while still showing the surrounding water and reef. A close-up or macro setting can create beautiful details of coral textures and small fish, but it asks for steadier hands and calmer conditions.
Before heading out, decide what kind of images you want. A relaxed snorkeling session may be perfect for wide reef scenes and natural portraits. A guided scuba experience can offer more time near a wreck or a deeper coral formation. On a private charter, you may have the luxury of waiting for the sun angle, moving to clearer water, and letting the moment unfold without a crowd around you.
Choose Settings for the Water, Not the Shore
Automatic mode can work surprisingly well in clear, shallow Caribbean water, especially with a modern phone or action camera. Yet a few manual adjustments can make a noticeable difference. Set a faster shutter speed when photographing moving fish or friends swimming through sunbeams. Around 1/250 second is a useful starting point when your camera gives you control.
Keep ISO as low as conditions allow to preserve clean detail. If the image looks dark, move closer before raising the ISO dramatically. Underwater, distance is often the problem, not a lack of camera power. For action cameras, use a wide field of view and consider a color setting designed for tropical blue water if available. Test it first, because color profiles can look overly intense in very shallow water.
Get Closer Than You Think
Water sits between your lens and the subject, reducing contrast and scattering light. That means a photograph of a fish from ten feet away can look hazy even when the water feels crystal clear to your eyes. One of the most reliable underwater photography techniques is to get close, then get closer while maintaining a respectful distance.
Aim to fill more of the frame with your subject rather than relying on heavy cropping later. For a turtle, approach slowly from the side, never directly in its path. For a reef scene, lower yourself gently to eye level with the coral instead of photographing downward from the surface. This angle gives the image depth and makes the reef feel more alive.
Buoyancy is part of the camera craft. Snorkelers can use slow, controlled fin movements and pause before pressing the shutter. Divers should be comfortably weighted and settled before attempting a close shot. If you are fighting to stay in position, the photograph will show it through tilted horizons, motion blur, or an accidental brush against the reef.
Underwater Photography Techniques for Better Color
The ocean absorbs warm colors first. Red begins fading almost immediately below the surface, followed by orange and yellow, which is why an unedited underwater image may look overwhelmingly blue. Barbados often offers wonderful visibility, but even clear water changes color quickly as you descend.
In shallow water on a sunny day, your best tool is proximity. Get close enough that the camera can capture natural color before the water filters it away. If your camera has a custom white balance option, setting it underwater can improve skin tones, sand, and coral. Many beginners prefer to leave white balance on auto and make modest corrections afterward, which is a perfectly sensible choice for a vacation.
A red filter may help action camera footage and stills in blue water, but it is not always the answer. In very shallow, bright conditions, a filter can make images too warm or too dark. Artificial light from a strobe or video light restores color more accurately at greater depth, though it adds equipment, expense, and another skill to manage. For a first underwater outing, natural light and a thoughtful approach are often enough.
Use Sunlight as Part of the Story
The clearest, most inviting underwater images are usually made when the sun is higher in the sky. Midmorning through early afternoon can bring strong natural illumination, bright sand, and those magical rays of light cutting through the surface. When possible, position the sun behind you or slightly to one side, so it lights your subject rather than turning it into a dark silhouette.
Silhouettes can still be beautiful when they are intentional. A swimmer beneath a glowing surface, a paddle board overhead, or a turtle crossing a bright blue opening can create a dramatic, graphic frame. Expose for the bright water near the surface and let the subject fall dark. It is a different mood from a colorful reef portrait, but it can feel every bit as cinematic.
Watch for backscatter when using a light or flash. Those tiny white specks are suspended particles reflecting directly into the lens. Clear water, careful light placement, and getting close all reduce the effect. If visibility is not ideal, focus on larger subjects and bolder compositions instead of trying to photograph every small detail.
Compose for a Sense of Place
A memorable Barbados image does more than prove you saw a fish. It creates a feeling of being there. Include a sweep of reef, the curve of a wreck, rippled sand, or a swimmer moving calmly through open blue water. These details give scale and turn a marine encounter into a travel story.
Try shooting upward occasionally. Looking toward the surface adds light, layers, and a beautiful turquoise gradient. A snorkeler or diver framed above the reef can show the full sense of floating in a larger world. Keep the camera level, or deliberately tilt it for motion, but avoid accidental slanted horizons that make an otherwise graceful scene feel rushed.
When photographing people, ask them to move slowly and keep their arms relaxed. A simple glance toward the reef or a gentle swim across the frame usually looks more natural than posing directly at the lens. Bright rash guards, fins, and swimwear can add a welcome pop of color against blue water, especially in wide shots.
For marine life, patience beats pursuit. Let a school of fish settle into its pattern. Wait for a turtle to turn into clean water. Photograph a ray or reef fish at eye level when possible, and leave space in front of the animal so the frame feels open rather than cramped. Never touch, feed, chase, corner, or block a creature for an image.
Protect the Reef While You Photograph It
The most polished underwater photographs come from photographers who look comfortable in the water, and comfort begins with safety. Stay with your guide, know your limits, and secure loose camera straps before entering. If the current, surge, or visibility makes it difficult to hold position, skip the close shot. There will be another opportunity, and safety always belongs ahead of content.
Coral is living and fragile. Keep fins, hands, camera housings, and knees clear of the reef. Avoid standing on coral or stirring up sand near delicate formations. Sunscreen also matters: choose reef-conscious sun protection and apply it well before entering the water when possible.
Guided experiences are especially valuable for beginners because an experienced team can point out marine life, select conditions suited to your comfort level, and help you focus on the experience rather than navigation. At TideTales Water Sports, that thoughtful balance of adventure, attentive guidance, and time to enjoy the view is what turns a camera outing into a true Barbados memory.
Make a Relaxed Shot Plan
Do not try to photograph every minute of your time in the water. Choose three priorities before you begin: perhaps one wide reef scene, one marine-life portrait, and one image of your travel companion enjoying the moment. Once you have those, put the camera down for a while. Notice the reef with your own eyes, listen to your breathing, and let the rhythm of the sea slow everything down.
Review your images after the swim rather than constantly checking the screen underwater. You will quickly see whether your photos are too blue, too distant, or slightly blurry, and you can adjust on the next stop. With every outing, your hands become steadier and your eye becomes more selective.
The photograph worth keeping is often the one that feels unhurried: a flash of silver fish over sunlit sand, a friend floating in calm blue water, or a turtle passing through as if it has all the time in the world.